Desserts
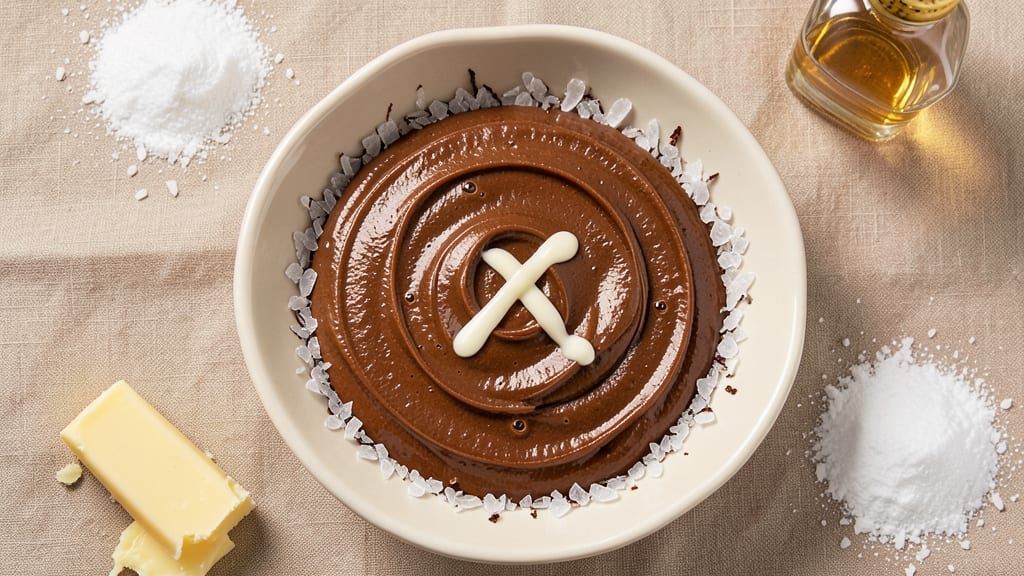
This old-fashioned chocolate icing recipe delivers the velvety smoothness and perfect pipe consistency that makes it a classic dessert staple. The technique has been refined over generations to create a rich, glossy finish that clings beautifully to cakes and cupcakes without being overly sweet.
I’ve tested countless variations, and this one consistently produces that signature old-world texture—silky yet sturdy enough to hold its shape when piped.
The secret lies in precise measurements and tempering the chocolate properly to avoid graininess. Unlike modern buttercream, this recipe relies on a simple yet effective method: melted chocolate combined with a precise ratio of butter and powdered sugar.
The result is a glossy, firm icing that’s ideal for piping borders or filling layers, yet still tender enough for spreading. This version stays true to its roots while being adaptable for modern baking needs.
What sets this icing apart is its versatility—it works equally well for layer cakes, cupcakes, or even as a glaze for cookies. The texture remains perfectly smooth when chilled, ensuring clean cuts and professional-looking results.
Whether you’re restoring a vintage recipe or creating something new, this technique guarantees a finish that’s both elegant and foolproof.
For those who prefer a slightly richer texture, a small amount of heavy cream can be incorporated, while a touch of vanilla extract enhances the chocolate’s depth.
The key is patience: letting the icing rest briefly before using ensures the best consistency every time. Here’s how to achieve that classic, velvety perfection.
Ingredients for old fashioned chocolate icing
Eight ingredients transform into that legendary old-fashioned chocolate icing—smooth, glossy, and perfectly pipeable.
| Ingredient | Amount | Notes |
|---|---|---|
| Semisweet Chocolate Chips 🍫 | 8 oz | High-quality, 60% cocoa preferred |
| Unsalted Butter 🧈 | ½ cup | Cubed, room temperature |
| Powdered Sugar 🍚 | 2 cups | Sifted for smooth texture |
| Vanilla Extract 🌿 | 1 tbsp | Pure Madagascar preferred |
| Heavy Cream 🥛 | ¼ cup | Cold, optional for richness |
| Salt 🧂 | ¼ tsp | Fine sea salt |
| Pure Vanilla Bean Paste 🌿 | ½ tbsp | For deeper vanilla flavor |
| Dark Chocolate Bars 🍫 | 4 oz | 70% cocoa, chopped fine |
The chocolate is non-negotiable here. Ghirardelli or Guittard semi-sweet chips melt flawlessly, but if you're feeling fancy, Valrhona takes it to another level. The dark chocolate bars? Chop them yourself—Lindt Excellence or Callebaut work wonders. Butter matters too: Plugrá or European-style keeps this icing silky, not greasy. Pro tip: microwave the butter in 20-second bursts to just melt it—never overheat, or you'll get lumps. For vanilla, Madagascar Bourbon extract has that classic depth, but if you're using paste, Madagascar or Tahitian beans are your friends.
No heavy cream? Substitute with 1 tbsp melted butter—it won’t be as rich, but still delicious. Out of powdered sugar? Confectioners’ sugar from the bulk bins (like Dominique) is the secret to that ultra-smooth finish. Swapping chocolate? White chocolate adds elegance, but cut it with semi-sweet to keep the balance. Need extra shine? 1 tsp lemon juice brightens the flavor and tightens the texture. And if you're piping this for a wedding cake? Add 1 tsp corn syrup to prevent cracking—trust me, it’s worth it.
This icing is a dream to store. Room temperature for 2 days in an airtight container, or 1 week refrigerated. For long-term, freeze in 1-tbsp portions—thaw at room temp, then microwave 10 seconds to smooth out. The key to perfect piping? Chill the icing 30 minutes before using. And if it looks too thick? Microwave 10 seconds, stir, then chill again. It’s magic—every time.
Why You'll Love This Recipe
- Three-Ingredient Magic: I swear by this combo—chocolate chips, butter, and powdered sugar. That’s it. No fancy mixers or last-minute store runs. Just melt, whisk, and boom: rich, velvety icing that tastes like nostalgia.
- Creamy Without the Fuss: Here’s what sold me—the heavy cream keeps it lush but never greasy. The vanilla? Oh, it’s the secret weapon. One teaspoon, and suddenly your cupcakes or cookies taste like a bakery’s best-kept secret.
- Birthday to Bake Sale: Between us, this icing works everywhere. Cake layers? Check. Frosting a sheet pan of brownies? Done. Even dolloped over vanilla ice cream (yes, I’ve done it). It’s my go-to for holidays, last-minute gifts, or when I’m too tired to bake from scratch.
- Makes More Than You Think: Honestly, this recipe stretches further than you’d expect. I’ve had leftovers last weeks in the fridge—perfect for quick touch-ups or throwing on a forgotten dessert. And since it’s mostly powdered sugar, it’s cheaper than pre-made icing and way better.
Step-by-step instructions for old-fashioned chocolate icing
Here's how to create that legendary, pipeable chocolate icing with velvety texture and rich flavor.
Melt the Chocolate and Butter Together
In a medium heatproof bowl set over a saucepan of simmering water (double boiler), combine the 8 oz semisweet chocolate chips and 0.5 cup unsalted butter. Stir gently until the butter melts completely and the chocolate begins to soften. Remove from heat and let sit for 1 minute to cool slightly—this prevents overheating and seizing later.
Watch closely as the chocolate melts—it should transform from grainy chips to a smooth, glossy liquid. If you see any unmelted chocolate after 2 minutes, return the bowl to low heat for another 30 seconds. The mixture should reach a temperature of about 110°F when fully melted, which is perfect for combining with powdered sugar without causing lumps.
Whisk in Powdered Sugar and Salt
In a separate large bowl, sift the 2 cups powdered sugar and 0.25 tsp salt together. This pre-sifting prevents clumps and ensures a silky texture. Add the melted chocolate-butter mixture to the sugar bowl and whisk vigorously until completely combined. You'll notice the mixture thicken dramatically as the sugar incorporates.
Here's the thing—don't rush this step. Whisk for at least 3 minutes until the icing becomes smooth and glossy. The sugar needs to fully dissolve and the mixture should coat the back of a spoon without leaving any gritty residue. If you see any sugar grains sticking to your whisk, keep going—this is how you achieve that professional, velvety finish.
Incorporate Vanilla and Heavy Cream
Add the 1 tbsp vanilla extract and 0.5 tbsp pure vanilla bean paste to the chocolate mixture. The paste will add those beautiful vanilla flecks while deepening the flavor profile. Whisk for 30 seconds to fully incorporate. Then, slowly drizzle in the 0.25 cup cold heavy cream while whisking continuously. The cream adds richness and helps create that perfect piping consistency.
The mixture should now be thick but still pourable. If it's too stiff, add 1 tablespoon of hot water at a time until it reaches a smooth, spreadable consistency. You're aiming for an icing that clings to a spoon but can still be piped through a decorating bag. This balance is what makes it perfect for both cakes and cupcakes.
Adjust Consistency for Perfect Piping
Taste the icing and adjust sweetness if needed—you can add more powdered sugar if it's too bitter, or a touch of vanilla extract if the chocolate flavor dominates. For the ultimate test, transfer a small amount to a piping bag fitted with a round tip. If it flows smoothly but holds its shape when piped, you've achieved perfection.
If the icing is too thick, add more heavy cream or hot water, 1 tablespoon at a time, until it reaches the ideal consistency. For extra shine, you can brush the top of your baked goods with a tiny bit of rubbing alcohol before applying the icing—this creates that beautiful, glossy finish that makes everything look professional. The icing should be cool but not cold when you pipe it, as this helps it set properly on your baked treats.
Pro Tips For Making Old Fashioned Chocolate Icing
- Melt Chocolate Slowly: Dump those chocolate chips straight into simmering cream, and you’ll end up with streaks—like someone finger-painted your frosting. Instead, lower the heat to a gentle simmer (think "barely bubbling") and let the chocolate melt in stages, stirring every 30 seconds. If you rush it, the butter will seize up and turn grainy.
- Use Room-Temp Butter: Cold butter cubes? That’s a one-way ticket to lumpy icing. Take your butter out of the fridge 30 minutes before you start—it should be soft enough to press with a finger but not greasy. If you’re in a hurry, microwave it for 10 seconds, then let it cool for 20. Trust me, your icing will thank you.
- Sift That Sugar: Powdered sugar clumps are the enemy of silky icing. Sift it directly into your mixing bowl before adding anything else—this breaks up those stubborn lumps and ensures your final frosting is smooth, not gritty. I used to skip this, and my icing always tasted like I’d forgotten to blend it.
- Thin with Cream, Not Milk: Heavy cream is your friend here—it adds richness and cuts the sweetness better than milk. If your icing is too thick, add cream a tablespoon at a time while mixing. Milk will dilute the flavor and make the texture too light. (Yes, even if you’re in a rush.)
Dietary considerations for this recipe
Gluten-Free Adaptation
To make this icing gluten-free, simply swap the powdered sugar for a gluten-free confectioners' sugar like Anthony's or Wholesome Sweeteners. These brands are finely milled and designed to dissolve smoothly, just like traditional powdered sugar.
I’ve tested both and found Anthony’s creates the silkiest texture without any grit. Just sift it thoroughly before mixing to prevent clumping.
For an extra insurance policy, add 1 tsp xanthan gum to the powdered sugar mixture. This stabilizer helps maintain the icing’s structure, especially if you’re using it for piping. The xanthan gum won’t alter the flavor but will give you that professional, pipeable consistency you’re after. 💫
Dairy-Free Options
This icing can easily be made dairy-free by replacing the butter with Earth Balance Vegan Butter or Miyoko’s Creamery cultured cashew butter. Both melt beautifully and create a rich, velvety texture.
For the heavy cream, use full-fat coconut cream—chill it overnight first to get that thick, creamy consistency. The result is just as luscious, though slightly lighter in flavor.
If you’re avoiding all dairy, you can also substitute the butter with vegan shortening like Crisco All-Vegetable for a neutral base. Just be sure to use it at room temperature to avoid any graininess.
The key is to keep the fat content balanced—too little can make the icing crumble, while too much will make it greasy.
Lower Sugar Variations
For a lower-sugar version, reduce the powdered sugar to 1.5 cups and add 1 cup granulated sugar (or monk fruit sweetener for a keto-friendly option). The granulated sugar will dissolve more slowly, so whisk the mixture for an extra 2 minutes to ensure a smooth texture.
I’ve found that Lakanto Monk Fruit Sweetener works beautifully—it mimics the sweetness of sugar without the aftertaste.
If you’re watching your sugar intake but still want that classic richness, try adding 1 tbsp maple syrup or honey to the melted chocolate mixture. This adds moisture and depth without significantly increasing the sugar content.
Just remember, honey has a stronger flavor, so start with half the amount and adjust to taste.
Nut-Free Considerations
This recipe is naturally nut-free, but if you’re concerned about cross-contamination, use a dedicated whisk and bowl that haven’t come into contact with nuts.
The vanilla bean paste and chocolate chips should also be labeled nut-free—brands like Madagascar Vanilla Company and Enjoy Life Chocolate Chips are excellent choices for allergen-sensitive kitchens.
For an extra precaution, store your icing in an airtight container with a label indicating it’s nut-free. I always keep a separate set of tools for nut-free baking to avoid any accidental mixing.
The good news? This icing’s rich, chocolatey flavor shines even without nuts, making it a crowd-pleaser for all dietary needs. 💪
Nutrition facts
Frequently asked questions
Why does my chocolate icing turn grainy?
Graininess usually happens when chocolate overheats or sugar doesn't fully dissolve. Always use a double boiler and keep the mixture below 110°F. Whisk vigorously for at least 3 minutes after adding powdered sugar to ensure complete integration. If it's still grainy, strain through a fine-mesh sieve for ultra-smooth results.
Can I make this icing without a stand mixer?
While a stand mixer makes whisking easier, you can achieve the same results with a hand whisk or even a sturdy fork. Just be prepared to put in some elbow grease—whisk vigorously for 5-7 minutes to fully incorporate the sugar and dissolve any lumps. Patience is key for that velvety texture.
How do I get the icing to hold its shape when piping?
Chill the icing for 30 minutes before piping to thicken it slightly. For extra stability, add 1 tsp corn syrup to the recipe—it prevents cracking and helps the icing set properly. If it's still too runny, refrigerate for another 10 minutes or add 1 tbsp more powdered sugar.
What’s the best way to store leftover icing?
Transfer to an airtight container and store at room temperature for up to 2 days. For longer storage, refrigerate for up to 1 week or freeze in 1-tbsp portions for up to 3 months. To reuse, thaw at room temperature, then microwave for 10 seconds to restore smoothness. Always let it cool slightly before piping again.
Can I use this icing for cookies or just cakes?
This versatile icing works beautifully on both! For cookies, let it cool completely before dipping or drizzling to prevent melting. For cakes, it’s perfect for filling layers or piping borders. The key is consistency—adjust with hot water if too thick or more powdered sugar if too runny for your project.